Friday, 27 June 2014
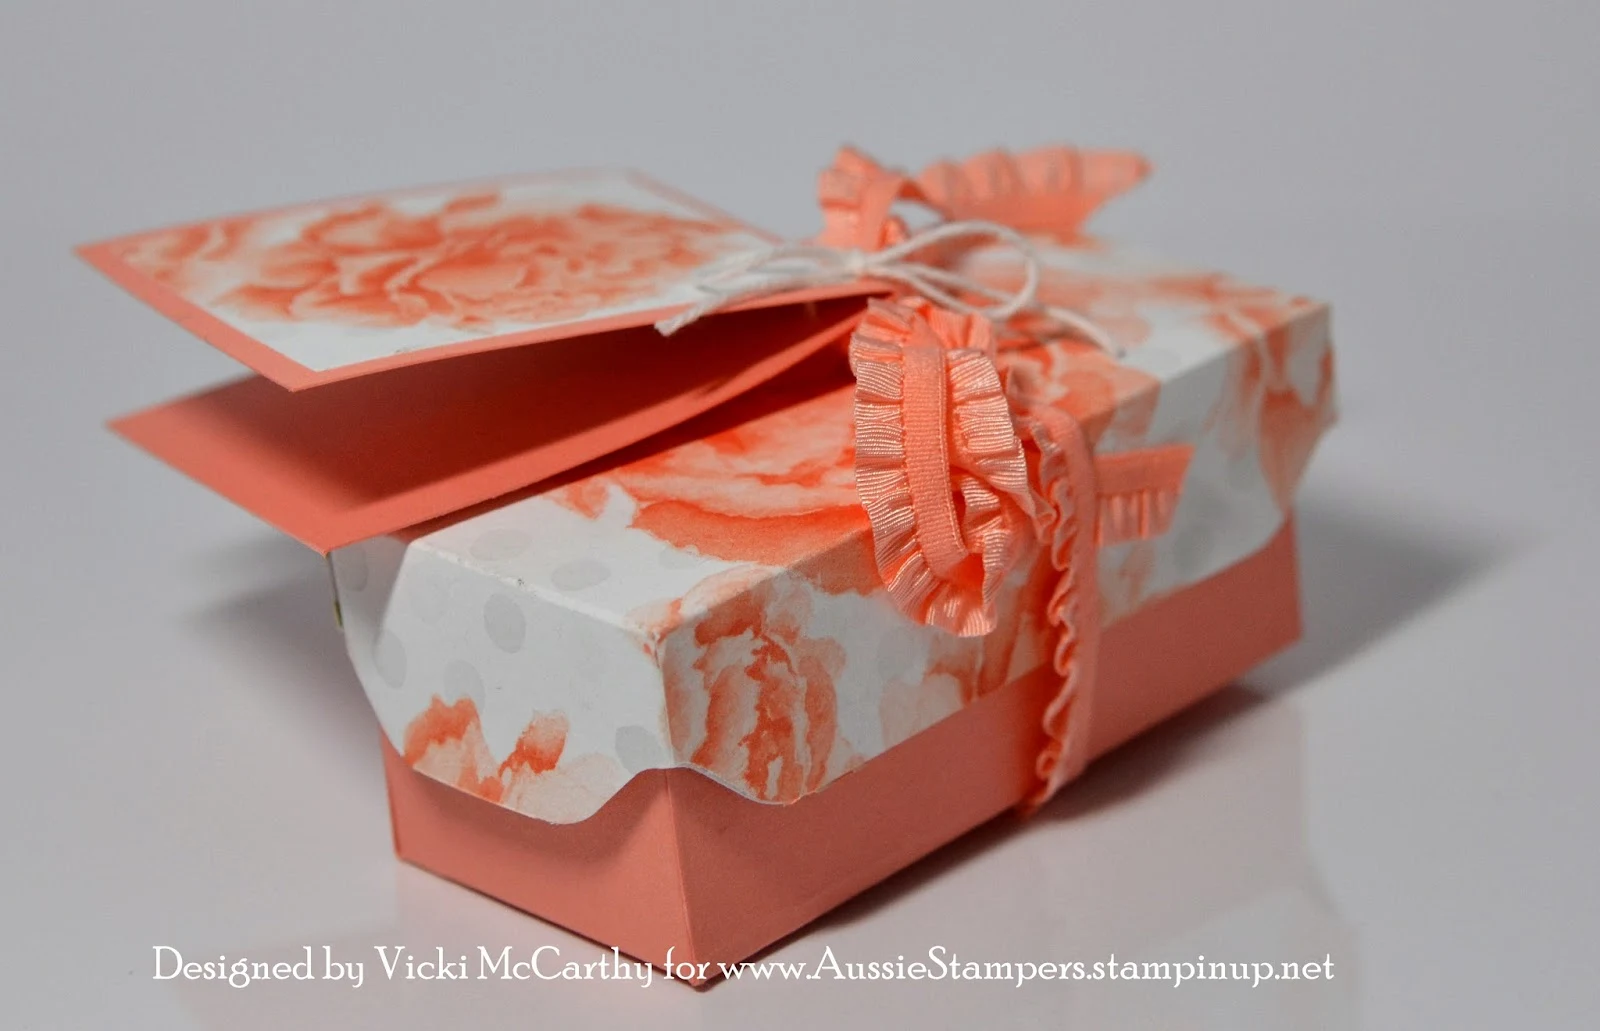
Notched Edge Gift Box. Stampin' Up! Australia.
You can watch the video tutorial here: http://youtu.be/qv8pgN8bXgU
This is the last in the series on the current catalogue....jump on over to my online store for the last of the clearance rack items....get 'em before they're gone for good!
Vicki xx
Wednesday, 25 June 2014
Incredible All-In-One Trifold Card made from ONE piece of Card Stock. Stampin' Up! Australia.
How adorable is this card! I was playing with an idea for a tri-fold card that didn't require any hinges to make it work, and I came up with this design using the Window Frames Collection Framelit Dies. You just need ONE piece of card stock to make the card base. How cool is that! ....very pleased with self obviously.....There is a video tutorial for this card on my Youtube channel:
http://youtu.be/T8c7Cy1-XsU
You could use any stamps and papers you like to create this card. I have chosen some sneak peek items from the new catalogue, which is due to be released very soon (only 6 more sleeps!). I know you will enjoy the gorgeous new stamp sets and papers. I am having fun playing with all the new goodies!
Vicki xx
Tuesday, 24 June 2014
Simple Box & Washi Tag. Stampin' Up! Australia.
You can make this box with a 6" x 6" piece of paper and the envelope punch board.
Friday, 20 June 2014
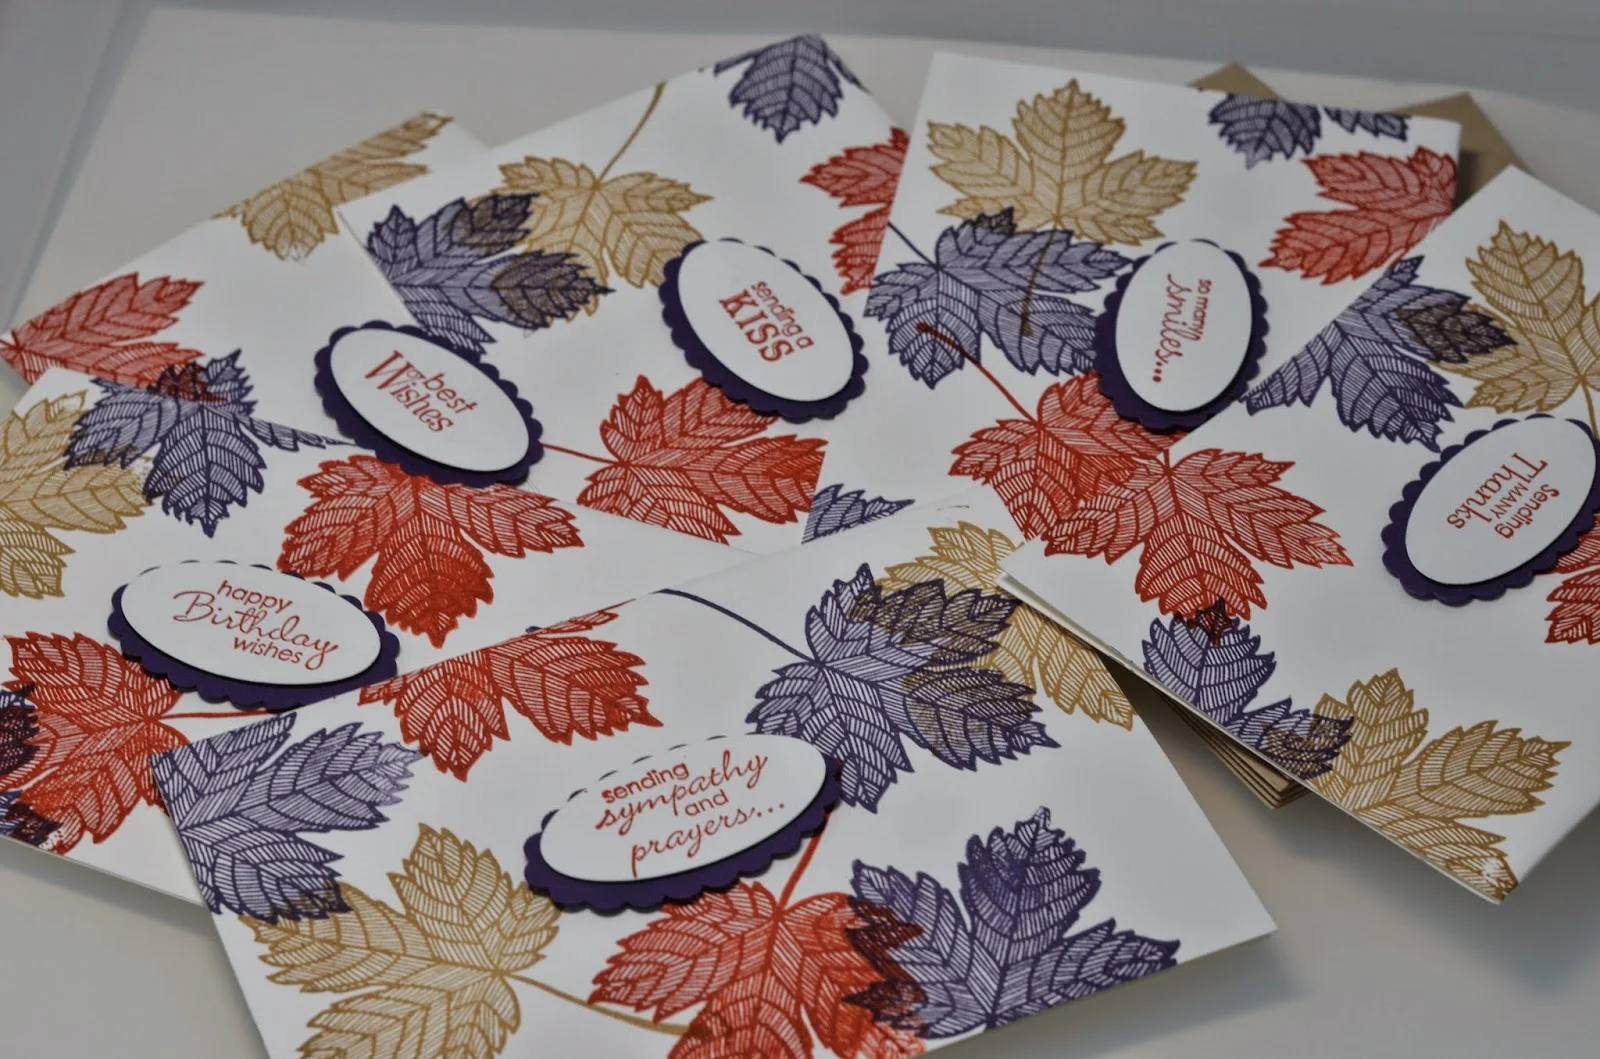
6 Cards Nature Set with a Belly Band
Stampin' Up! Australia.
Start with a whisper white card base 14cm x 19.5cm, and fold in half. Using the Magnificent Maple #131868, stamp images in Summer Starfruit, Elegant Eggplant and Cajun Craze.
On a scrap piece of whisper white card stock, stamp sentiments from the Petite Pairs stamp set in Cajun Craze, then punch out using the oval punch.
Layer onto Elegant Eggplant card stock punched out with the scalloped oval punch.
Adhere to the centre of each card using dimensionals (I used different sentiments to make these cards all ocassion ).
Team with the medium envelopes in crumb cake, then using a strip of Whisper white card stock measuring 6.5cm x 30cm, stamp the leaf image again and wrap around the stack of cards and secure with Sticky Strip.
These cards make a thoughtful gift.
Vicki xx

Tuesday, 17 June 2014
Covered Notebook Downline Gifts. Stampin' Up! Australia
Stampin' Up! Australia.
This Notebook Cover gives a professional finish to an exercise book. When my children were little I helped out in the school library and learned how to cover stacks of books. I give out covered notebooks along with a selection of 5 or 6 cards to my new team members as a thank you.
If your shopping list is around the $150 mark, you might like to consider joining my team Team Aussie Stampers and get 20 per cent discount off all your stamping supplies thereafter.
Join at http://www.stampinup.net/esuite/home/aussiestampers/jointhefun
Saturday, 14 June 2014
Sneak Peek Adorable Baby Onesie. Stampin' Up! Australia
Pre-order joy!!!! I have been playing all week with the new stamps and In Colours. You are going to love the new "Fast Fuse" adhesive. It rocks! Vicki xx
Thursday, 12 June 2014
Clear Pillow Box Treat. Stampin' Up! Australia
Stampin' Up! Australia. This project uses lots of retiring products, and a clear pillow box from Kmart! It's very quick to put together and requires NO STAMPING! Great for birthday parties.
Vicki xx
Vicki xx
Tuesday, 10 June 2014
Memories of My Fave Papers...soon to be gone! Stampin' Up!
Stampin' Up! Australia
Would you believe I made a video of this darling card, then had to delete it because the soundtrack was totally out of sync! Gaaaa! Never mind, I am still giving you the photo inspiration and I will now proceed to tell you what went into the construction process LOL!
Start with your gorgeous Watercolour Designer Series Paper, cut a Daffodil Delight Card base, then cut a layer of Crisp Cantaloupe 1/4" smaller, then cut a DSP piece 1/4" smaller again. Do not adhere, because we are adding a layer of Daffodil Delight ribbon (I attached it to the back of the DSP piece using good ol' Scotch tape).
Punch out a piece of DD with the petite petals punch, then stamp 2 flowers on whisper white, one in DD and one in CC (ie Crisp Cantaloupe) then punch them out as well. For the Sentiment, I used Loving Thoughts, then cut it out using the Apothecary Accents die, and sponged some more CC around the edge for definition.
I popped on some candy dots from the Brights Pack, then added an inside layer which looks just like the envelope, in that I stamped a Petite Petal in Daffodil Delight, then in Crisp Cantaloupe, then, without re-inking I stamped again (stamped off) to form the 3rd flower.
Hope you like the finished card. Leave a comment, and share the love :)
Now I'm going back to my movie editor and finding out how to fix the sync problem. !!!!
Vicki xx
Friday, 6 June 2014
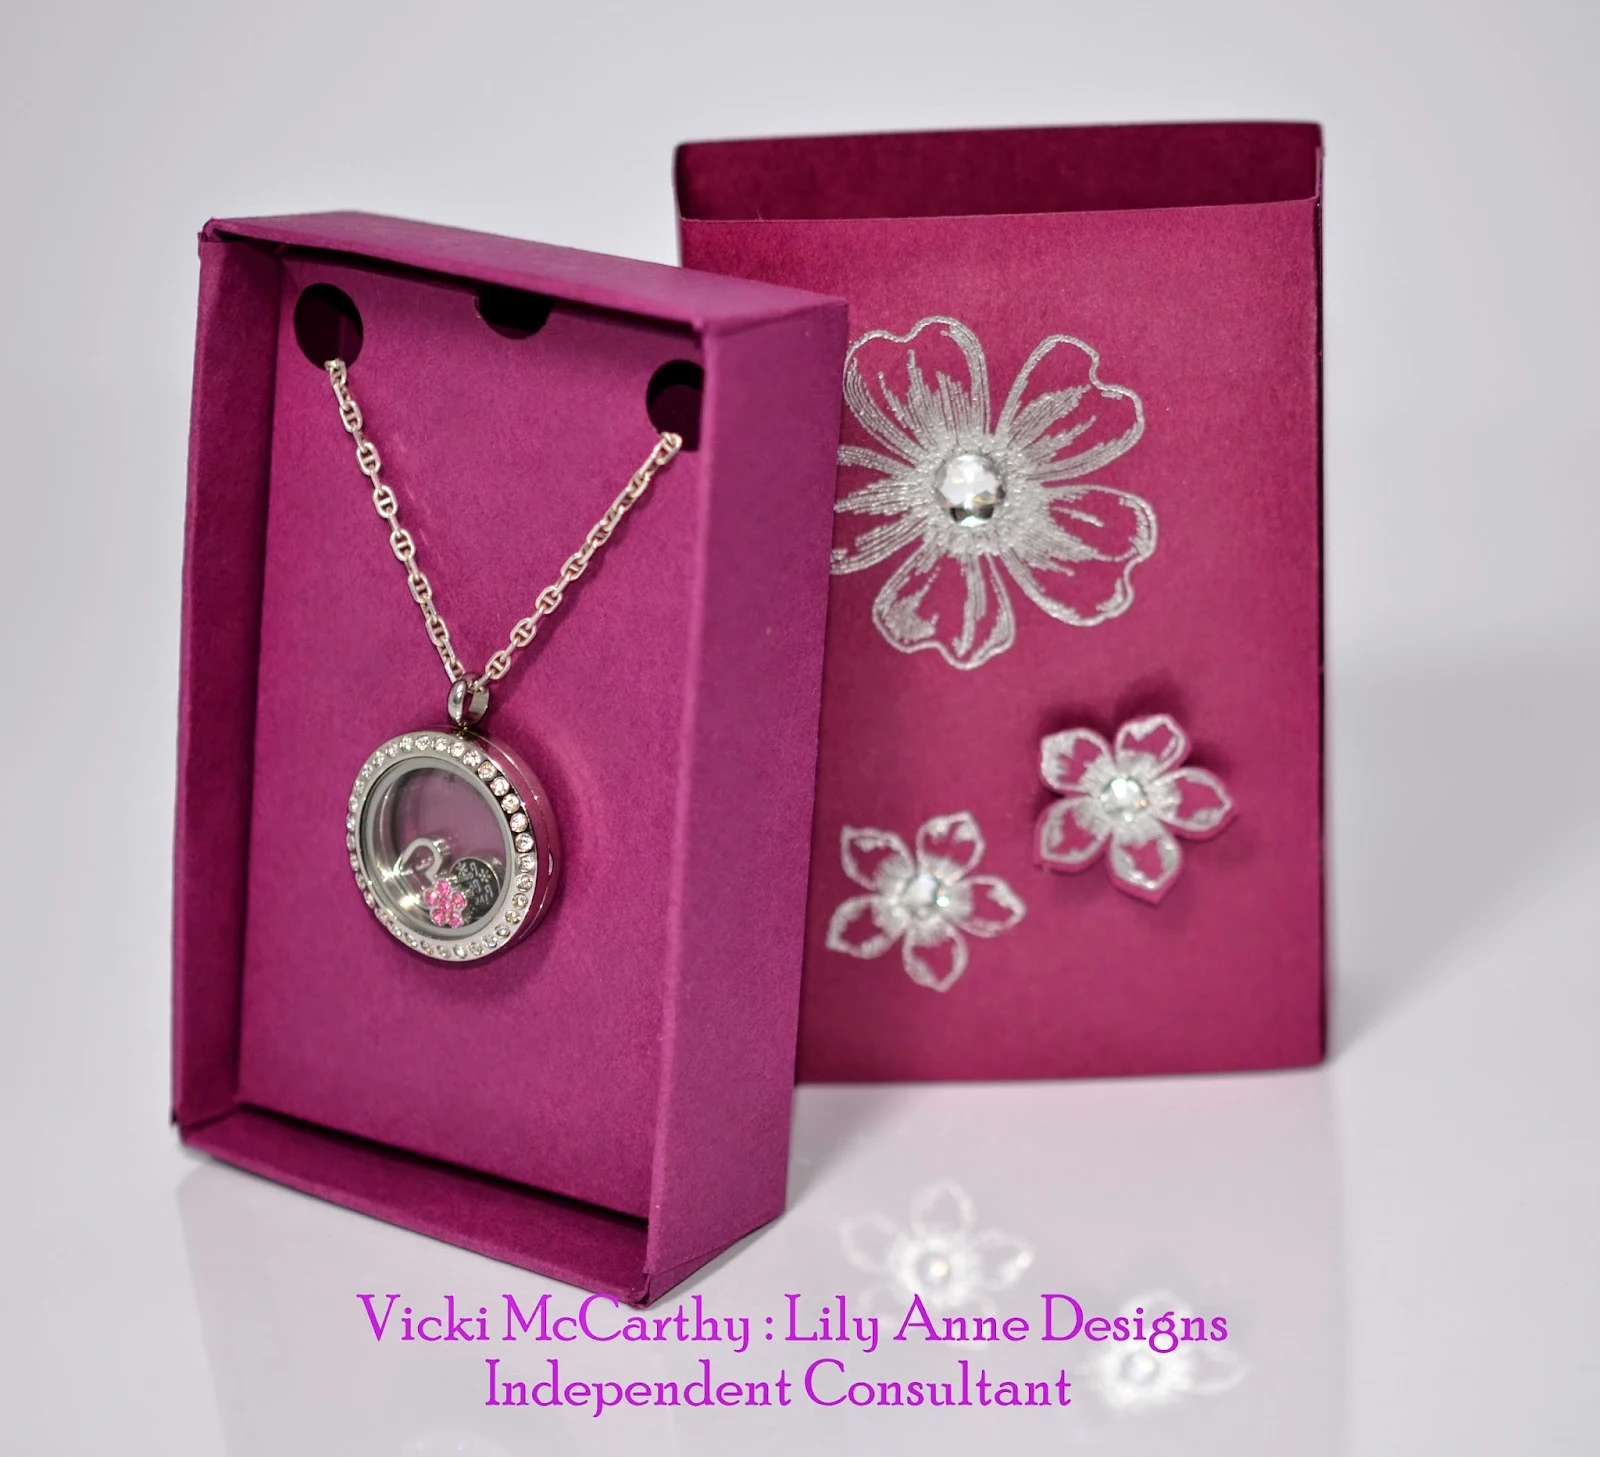
Floating Locket Gift box. Australia and New Zealand..
Are you looking for a good template for a necklace (or earrings would work here too)?
I wanted a bespoke box for one of my lockets so I came up with this design.
For those of you who follow me, you will know that I love jewellery and I was thrilled to find out I could buy Floating lockets in Australia. They are like wearable works of art, and no two are the same....they are totally customizable.
There is a link below the video over on Youtube if you want to find out more, but I see many more jewellery box templates in the future....ta dah!
Tuesday, 3 June 2014
The Retirement List is out.
Grab your faves. They will soon be going, going, gone!


Subscribe to:
Comments (Atom)


