Showing posts with label Vciki McCarthy Stampin up Demonstrator Sydney. Show all posts

Monday, 4 December 2017

No Line Watercoloring Using Markers! Stampin' Up! Australian Demonstrator

Buy Crafting Supplies in Australia at http://www.Aussiestampers.stampinup.net


Hello, and thanks for visiting my blog today.
Here is a technique you may not have tried before: no line watercoloring using markers.


I started by using watercolour paper.  I coloured up my stamp using direct marker to stamp technique, which allowed me to stamp the image with  pink blossoms (Melon Mambo) and green foliage (Old Olive).


I coaxed the colours out towards the middle of each section using my aqua brush, treating one section 
at a time. I coloured the very centre of the bloom with yellow marker (Daffodil Delight).
I added a loose pale blue (Tempting Turquoise) watercolour wash all around the bloom as a background. 


Finally I mounted the art piece onto Basic Black card stock and added a white heat embossed sentiment which I attached to the bottom left hand edge. The black rhinestones were coloured using a sharpie.

I love how it turned out, and it even looks though it could have been hand drawn.


      Thanks so much to my lovely online customers for shopping with me!  Vicki  x 💝

Wednesday, 3 May 2017

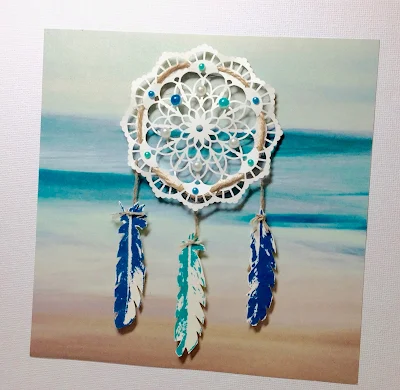
Home Decor Dream Catcher


                           Sometimes an idea brews away until you just HAVE to go with it.
        The first time I saw the Feather  Together Stamp set, I knew I would make a dream catcher.

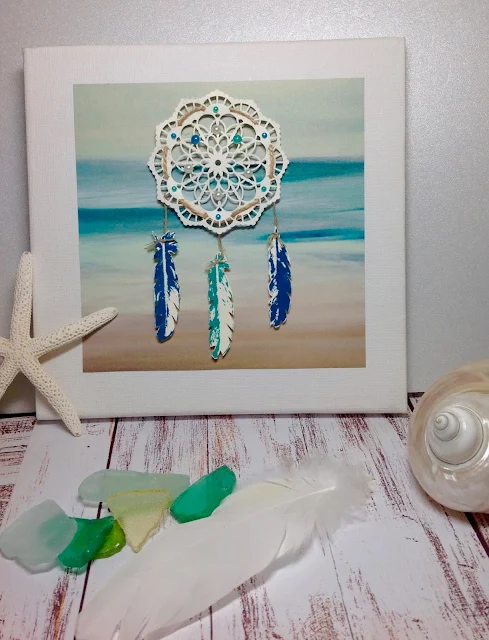
I had been hoarding the beautiful background paper from Serene Scenery with the beach scene, and always had a home decor piece in mind. Rather than buy a glassed frame, I wanted something more beachy to go with our home decor (we live on the river that runs out to sea at Cronulla Beach and I have a love of seashells and all things nautical).


I picked up a set of 4 primed canvases from Kmart for $5.  The canvas measures 7 3/4" square by 1/2" deep, and I cut the Designer Series Paper to 6" square. I adhered it to the canvas with Tombow Multi adhesive, then flipped it over and pressed firmly from the back to ensure a good grip.


                                Now I could go about the dream catcher construction process!

The Lace Doilies from the Falling In Love suite were the perfect size and I loved the detailed design. I started with some thick twine and wound it through the outside of the doily, then tied it in a knot from the back.
Next I tied some doubled Linen Thread to 3 places on the doily that would provide room for 3 of the feathers to hang from.
I stamped  the feathers on Very Vanilla using Bermuda Bay and Island Indigo ink, then fussy cut them, adding some extra cuts to the sides to mimic a feather shape.
I also flossed the edges of the Linen thread where I had tied the linen thread to the feathers.


                          This photo shows the cuts I made down the sides of the feathers.
I coloured some pearls with my Copic Markers (you could use sharpies for this if you don't have Copics). They look like beads threaded through a woven dream catcher! How cool is that!
I used Foam Adhesive Strips to mount everything...that stuff is super convenient for round shapes like this, and it all came together really quickly.

My Dream Catcher now has pride of place on our fireplace mantel in the Living Room, and I am one happy stamper!


Supplies used:
Serene Scenery DSP #141642
Feather Together Stamp Set #141597
Foam Adhesive Strips #141825
Linen Thread #104199
Pearl Basic Jewels #119246
Lace Doilies #142793
Tombow Multipurpose Liquid Glue #110755
Bermuda Bay and Island Indigo Inkpads
Very Vanilla Cardstock
Canvas and thick twine from Kmart

 Thanks so much for shopping with me!  Vicki  x 💝


Monday, 16 May 2016

Retiring Favourites & Techniques: Day 3. Copic Colouring. Stampin' Up! Australia


Copic colouring! Sweetbriar Rose is another retiring stamp set. Note the shading using both warm greys and cool greys in copic colours.
I have chosen to frame the mauve version and mounted it on Old Olive and Wisteria Wonder Card stock.  
Shadow: W00  W1  W3. 
Stamen : Y18  Y19. 
Flowers  BV0000  BV 11  BV13  BV17. 
Leaves: Stampin'Up! Blendabilities (now retired) Old olive, light medium and dark, plus copic G20.

The pink version has been mounted onto Melon Mambo and Old Olive Cardstock.
Shadow: C1  C3  C5 R0000.
Stamen: Y00  Y21  Y23  Y26. 
Flowers R0000  RV 02  RV13  RV21  RV06.
Leaves: G20  YG03  YG23.

Tuesday, 19 January 2016

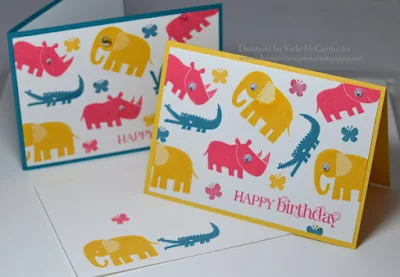
Another Baby Card...Zoo Babies. Stampin' Up!

I made this adorable pair of cards with envelopes which I cased from the talented Nikki Spencer. This one uses different colours and sentiment, but is very cute, don't you think?

Daffodil Delight, Melon Mambo and Island Indigo is always a winning combination when you want a bright and cheerful card.

Friday, 18 December 2015

Extras From the Shaker Card Kit.


There are a stack of extra pieces in the Shaker Card Kit, once you have finished making all the cards. I decided to use the "To You and Yours" Stamp set (yes, again, I am obsessed with this set!) and make a couple of quick cards with some of the leftover pieces, and there are still many pieces to make cards with.  I had fun using up the "scraps" and creating these fun cards.

Wednesday, 25 November 2015

Christmas Shadow Box Frame, Hello December. Stampin' Up!

 
Make this Shadow Box for your Christmas Home Decor using an Ikea Shadow Box Frame.

This project is made using the Hello December 2015 Project Life Accessory Pack # 139654. 
The only additional supplies you will need are some adhesives and whichever papers you choose for the backing sheets.
I have used a sheet of 12" x 12" DSP from the Home For Christmas paper (reverse of the Christmas Tree pattern) and a sheet of Lost Lagoon 12" x 12".
The Shadow box Frame is Ribba, size 50 x 50 cm (19 3/4" x 19 3/4"), available from Ikea.

The circles for the fluttering banner are punched out using the 3/4", 1", and 1 1/4" circle punches, then attached to the fine gold thread included in the kit.
The patterned circles in the kit are popped up on double dimensionals after winding the fine gold gold thread directly onto the sticky reverse side of the stickers....easy!
The vellum circle stickers are adhered straight to the page so they will give a translucent effect.
The circle banner was attached to the back of the frame using sticky tape.
 
This project was quick to put together and looks sensational in real life. The photos don't really do it justice. The sparkle catches the light and the banner casts a pretty shadow over the glass frame, inviting the viewer in for a closer look.

Tuesday, 2 June 2015

The New Annual Catalogue is Here!

                                              SHOP NOW
                         The New Annual Stampin' Up! Catalogue is released in Australia today!
Hop on over to my online store and look at all the lovely goodies, papers and bling! I have a special offer for my online customers....an EXCLUSIVE video tutorial for this adorable Tea Caddy Dispenser made from the backing sheet of a pack of Designer Series Paper (how's that for up-cycling).
Please remember NOT to check the "No Contact" option so that I will have your email address to send you the link to the private video.


Stampin' Up! Australian Catalogue Released Today! Free Gift.

You will receive an exclusive free video tutorial on how to make this super sturdy tea caddy dispenser when you purchase from my online store.Just remember NOT to check the "No Contact" option so that I will have your email address to send you the link.

Sunday, 15 February 2015

What a start to the year!

Well, this year has gotten off to a great start, with a feature article of my classes in BE magazine, and a trip on the Royal Caribbean Line teaching card making on board! What fun! We had a fabulous sale in our last class and of course  Stampin' Up's! SALE-A BRATION is on till the 31st of March.

Thank you so much to my wonderful friends and loyal customers who make all this possible.


Saturday, 10 January 2015

Welcome back to 2015 classes!

Hello everyone, I hope you had a wonderfully creative holiday season. I know we were certainly busy leading up to Christmas with masses of Cards, Tags, Gift Boxes, and even a Christmas angel for the tree!

 I am starting the year off with a giant sale of stamps, (new and used), papers, accessories and assorted paper craft goodies! Drop in any time between 11am and 3pm to make a couple of cards with the beautiful new watercolour and chalkboard stamps, join us for a coffee, then bag some bargains to take home with you.

If you haven't been for a while, or if you are a newbie, we would love to have you join us. Pick up a new catalogue (included in the class price, along with the cards you will make) and get a sneak peek at some of the new trends in card making for 2015.
No need to bring anything. All materials are provided.

Register at :http://www.meetup.com/cardmaking-art-papercraft/events/219686222/

I hope to see you soon!
Cheers, Vicki 

Friday, 27 June 2014

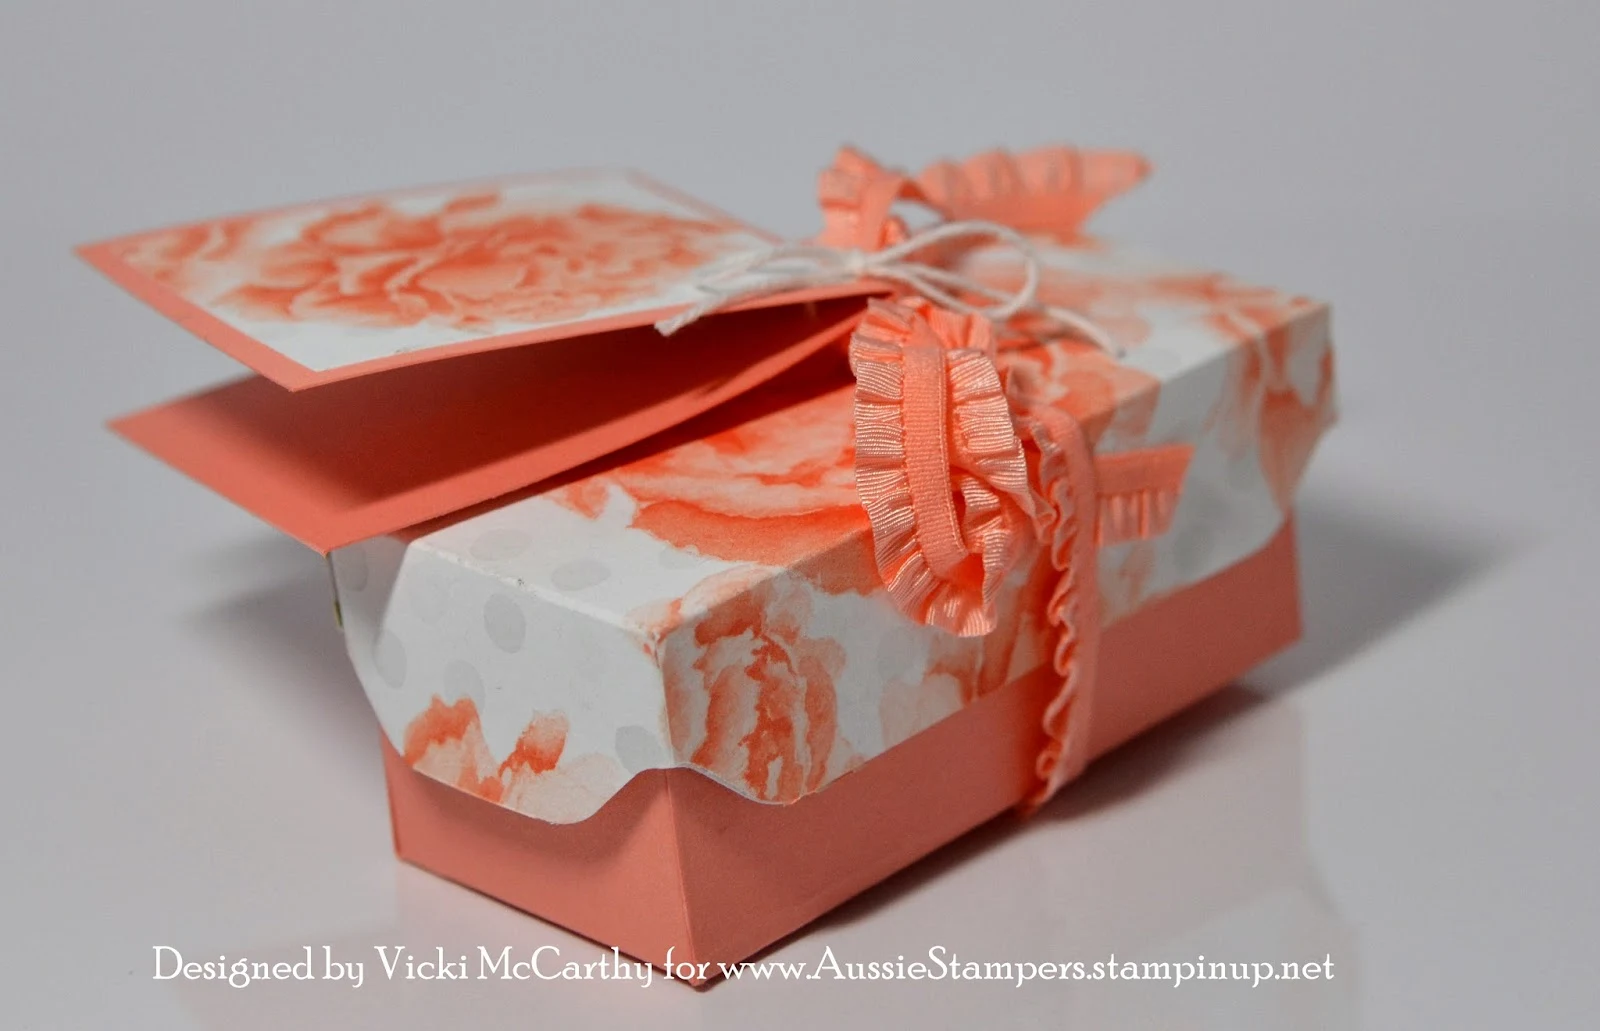
Notched Edge Gift Box. Stampin' Up! Australia.


 You can watch the video tutorial here:  http://youtu.be/qv8pgN8bXgU
This is the last in the series on the current catalogue....jump on over to my online store for the last of the clearance rack items....get 'em before they're gone for good!
Vicki xx

Friday, 20 June 2014

6 Cards Nature Set with a Belly Band


Stampin' Up! Australia.
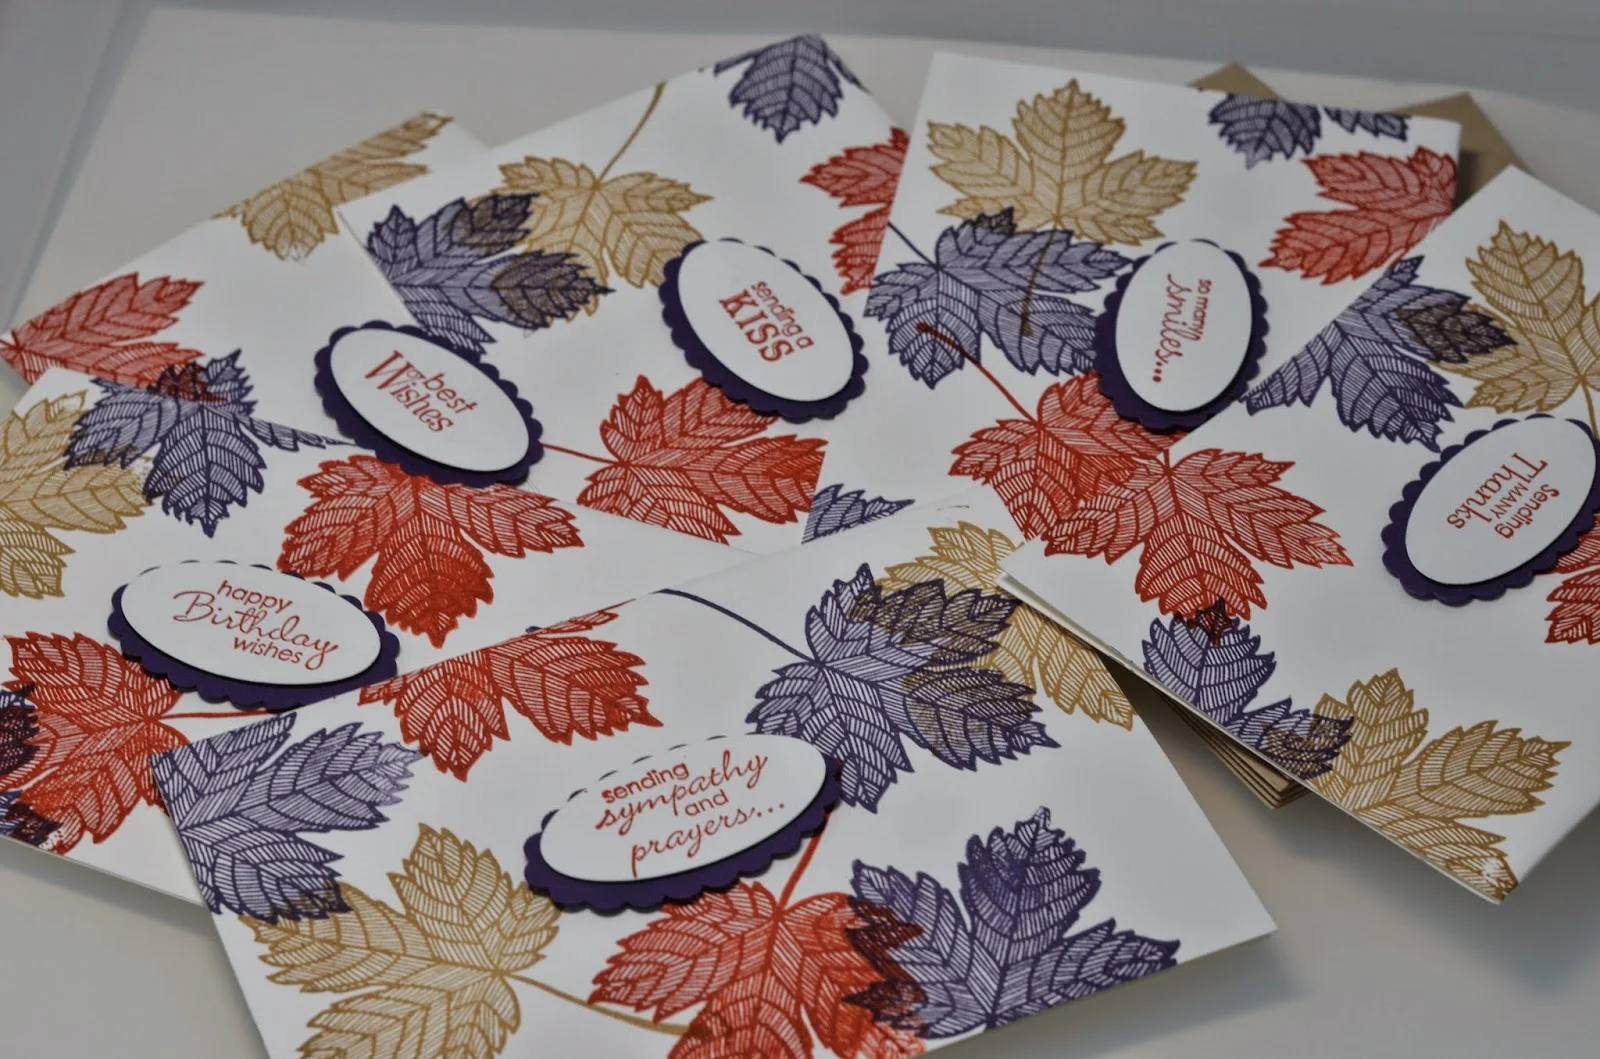
Start with a whisper white card base 14cm x 19.5cm, and fold in half. Using the Magnificent Maple #131868, stamp images in Summer Starfruit, Elegant Eggplant and Cajun Craze. 
On a scrap piece of whisper white card stock, stamp sentiments from the Petite Pairs stamp set in Cajun Craze, then punch out using the oval punch. 
Layer onto Elegant Eggplant card stock punched out with the scalloped oval punch. 
Adhere to the centre of each card using dimensionals (I used different sentiments to make these cards all ocassion ).
Team with the medium envelopes in crumb cake, then using a strip of Whisper white card stock measuring 6.5cm x 30cm, stamp the leaf image again and wrap around the stack of cards and secure with Sticky Strip. 
These cards make a thoughtful gift. 
Vicki xx
 

Thursday, 12 June 2014

Clear Pillow Box Treat. Stampin' Up! Australia

Stampin' Up! Australia. This project uses lots of retiring products, and a clear pillow box from Kmart! It's very quick to put together and requires NO STAMPING! Great for birthday parties.
Vicki xx

Friday, 6 June 2014

Floating Locket Gift box. Australia and New Zealand..


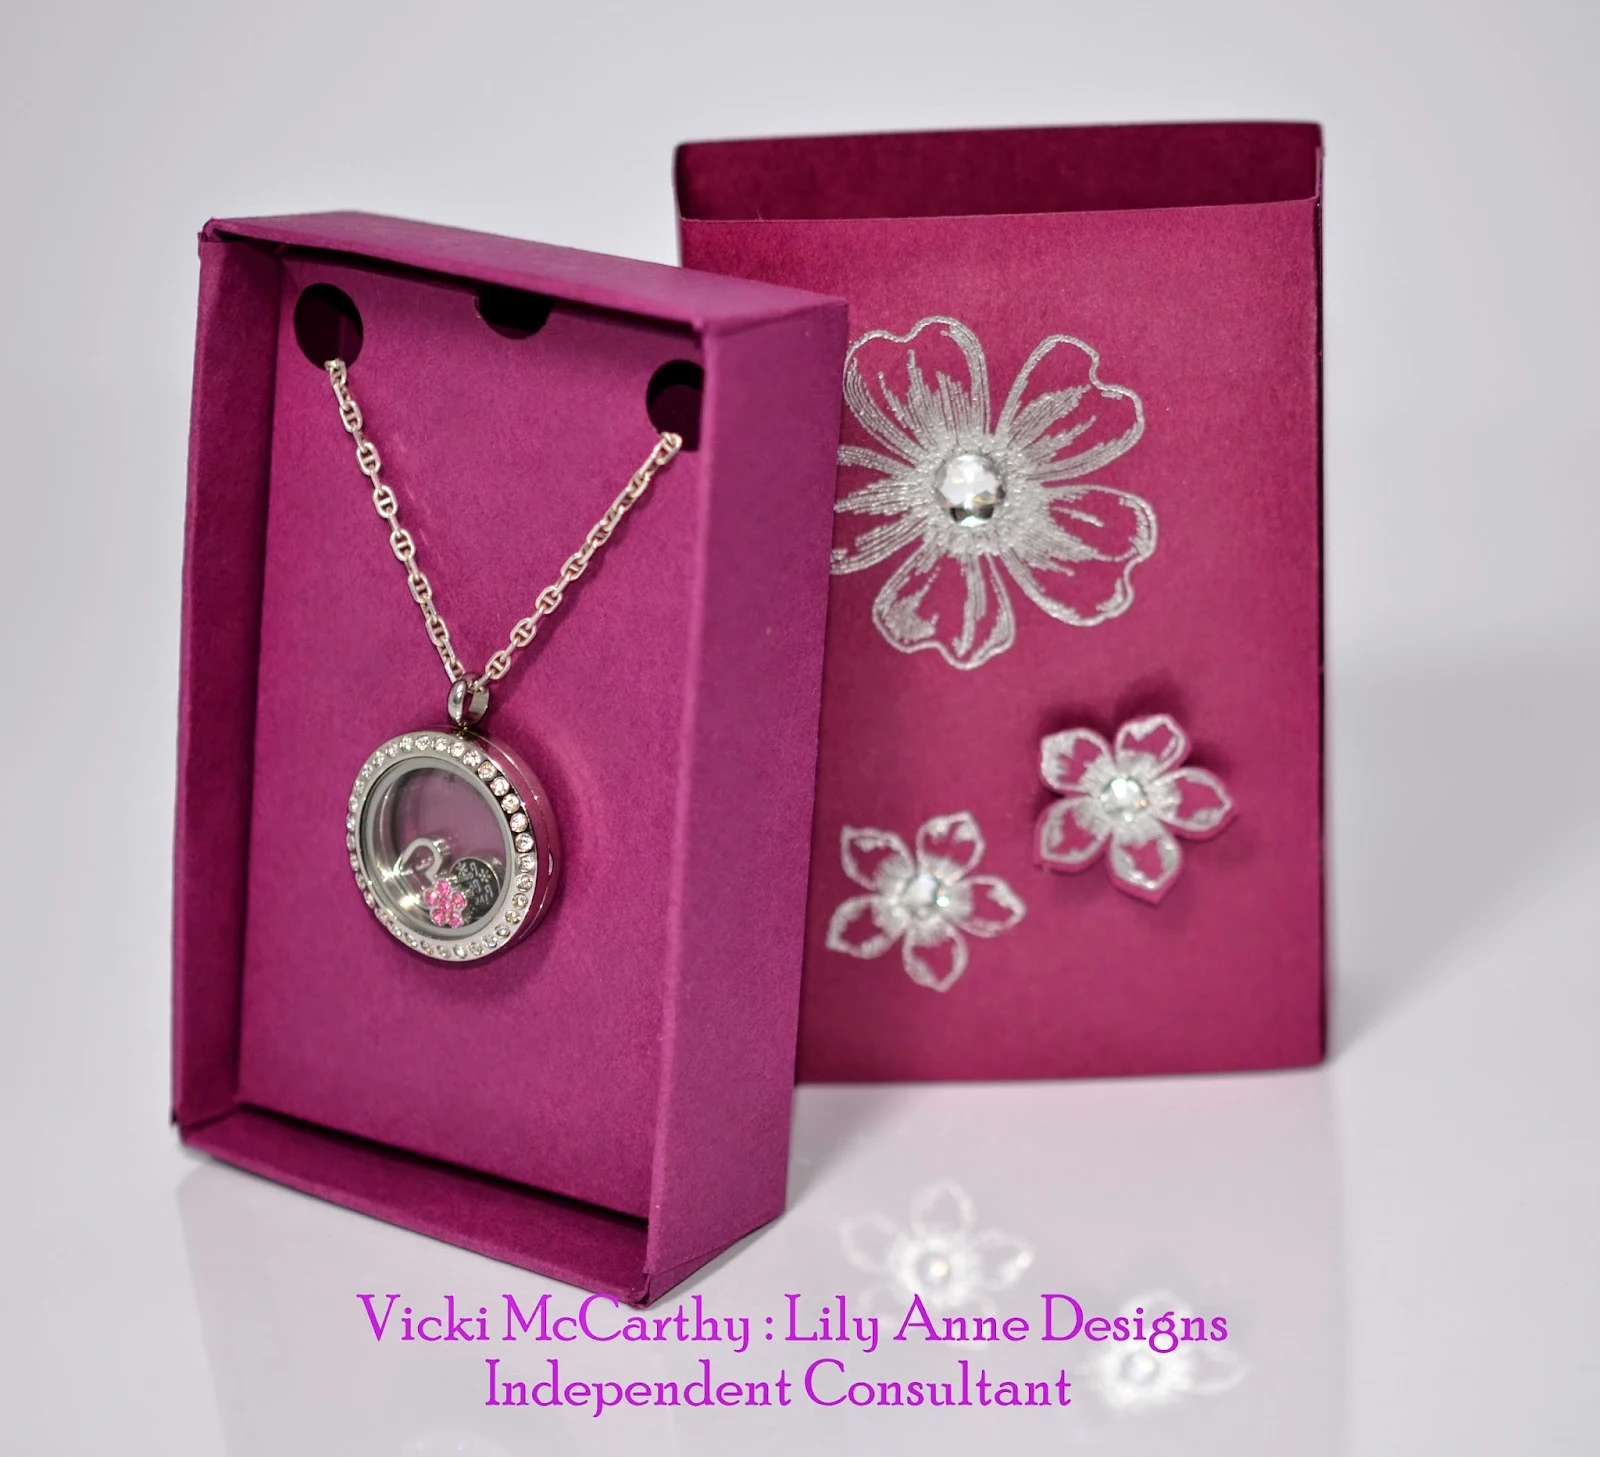
Are you looking for a good template for a necklace (or earrings would work here too)?
I wanted a bespoke box for one of my lockets so I came up with this design.
For those of you who follow me, you will know that I love jewellery and I was thrilled to find out I could buy Floating lockets in Australia. They are like wearable works of art, and no two are the same....they are totally customizable.
 There is a link below the video over on Youtube if you want to find out more, but I see many more jewellery box templates in the future....ta dah!

Friday, 9 May 2014

Holiday Carryover Catalogue still has Christmas items available!


Here is the link if you are thinking of getting your Christmas cards started early!

http://su-media.s3.amazonaws.com/media/catalogs/SP/Holiday_Carryover/Holiday_Carryover_2014_SP.pdf

                                                    Thank you for shopping with Vicki

If you’d like to purchase any of the supplies, or to get a catalogue, please feel free to contact me,or you can shop online with Stampin’ Up! directly through me by clicking the ‘shop online’ button above right.
If you live in Australia and you’re thinking of joining Stampin’ Up! and want to join my team of Aussie Stampers I’d most definitely like to hear from you!

Tuesday, 29 April 2014

The New Stampin' Up! Catalog Premiere

The new Stampin' Up! Catalog has Premiered in the US and demonstrators have been presented with their copies. Australian demonstrators will have to wait that little bit longer! AlI I can show you is the cover for now. I see some Alphabet framelits that look like fun. I'll keep you updated on the breaking news stories from our American Demonstrators.
Have a marvellously creative day.
Vicki x 


If you’d like any of the supplies, to shop, or to get a catalogue, please feel free to contact me, and of course you can shop online with Stampin’ Up! directly through me by clicking the ‘shop online’ button above right.
If you live in Australia and you’re thinking of joining Stampin’ Up! and want to join my team of Aussie Stampers I’d most definitely like to hear from you!

Friday, 11 April 2014

Markers Masterclass

From our online ATC markers masterclass.  Learn how to hand draw and colour these whimsical drawings using alcohol markers.   

Stampin' Up! Australia. Copic Coloring With Sticker Art


Stampin' Up! Australia.
Did you know Stampin' Up! are bringing in new alcohol-based markers similar to copics called Blendabilities? I will certainly be purchasing a full set as soon as they are available. I love using copics and can't wait to try Stampin' Up!s version.

To give you an idea of how they will work, watch as I colour this piece using copic markers and show you how to blend the colors together.

The supplies used are:
Stampin' Up! Cardstock Whisper White
                                       Bermuda Bay
                                       Strawberry Slush
                                       Daffodil Delight
    Stampin' Dimensionals       Double sided tape   Ovals Framelits
    Banner Greetings  Strawberry Slush Inkpad
    Petals-a-plenty embossing folder
The Copic Marker Colors used were
FLOWERS: RV21  RV13  RV06
DRESS: BG 11  BG15  BG18
BACKGROUND  Y13  Y18  Y19
SKIN E000  E00   YR00  R20  RV21
BLUSH (cheeks) RV21  RV13
HAIR  E33  E34  E35  E37
Colourless Blender
The sticker used was Elizabeth Craft Designs 2557
Blending paper was Express It