You are cordially invited to join Stampers Art Gallery over on Facebook, where you can share your makes, join in monthly challenges, be in the draw for giveaways, and even have the chance to have your art featured on Youtube in Aussie Stampers' Monthly Mail Call.
Simply click on the link above, and you will be taken directly to the join page.
Here is a sneak peek from the Sale-A-Bration Catalogue. Sale runs from January 3rd through to 31st March 2018.
How to make a pop-up card.
Watch the tutorial and see how easy it is!
Have a marvellously creative day!
Vicki xx
Hello, and thanks for visiting my blog today.
Here is a technique you may not have tried before: no line watercoloring using markers.
I started by using watercolour paper. I coloured up my stamp using direct marker to stamp technique, which allowed me to stamp the image with pink blossoms (Melon Mambo) and green foliage (Old Olive).
I coaxed the colours out towards the middle of each section using my aqua brush, treating one section
at a time. I coloured the very centre of the bloom with yellow marker (Daffodil Delight).
I added a loose pale blue (Tempting Turquoise) watercolour wash all around the bloom as a background.
Finally I mounted the art piece onto Basic Black card stock and added a white heat embossed sentiment which I attached to the bottom left hand edge. The black rhinestones were coloured using a sharpie.
I love how it turned out, and it even looks though it could have been hand drawn.
Thanks so much to my lovely online customers for shopping with me! Vicki x💝
I absolutely LOVE art journalling, and want to share my discoveries with you. I am so thrilled to announce that my Youtube channel is taking a whole new direction (don't worry, there will still be plenty of cards!).
I love all kinds of mixed media, and am bringing a whole lot of wow into my channel, with all the art pieces I am making and sharing with you.
Did you know you can use your Stampin' Up! supplies to make an art journal? Or on a canvas? Or to create really cool sketches?
I am really enjoying the new mixed media products now available, and invite you to join me as I dive right in to making happy art!
Watch Carrie explain the benefits. After having used a Misti for so long, I am THRILLED to see a better stamping tool. It will be well-priced, too, so I am lining up to buy one for myself.
t
These gift card wallets will be very useful at Christmas time for last minute gifts, or to add as a stocking stuffer, or just to give on their own filled with a generous amount of spending dosh!
The measurements are: Pear Pizazz base : 8 3/4" x 5 3/4", score at 1 3/4" and 5 3/4"
Garden Green Strip 3/4" x 5 3/4"
DSP belly band 4" x 12"
Thanks for stopping by. Have a wonderfully creative weekend, Vicki 💝
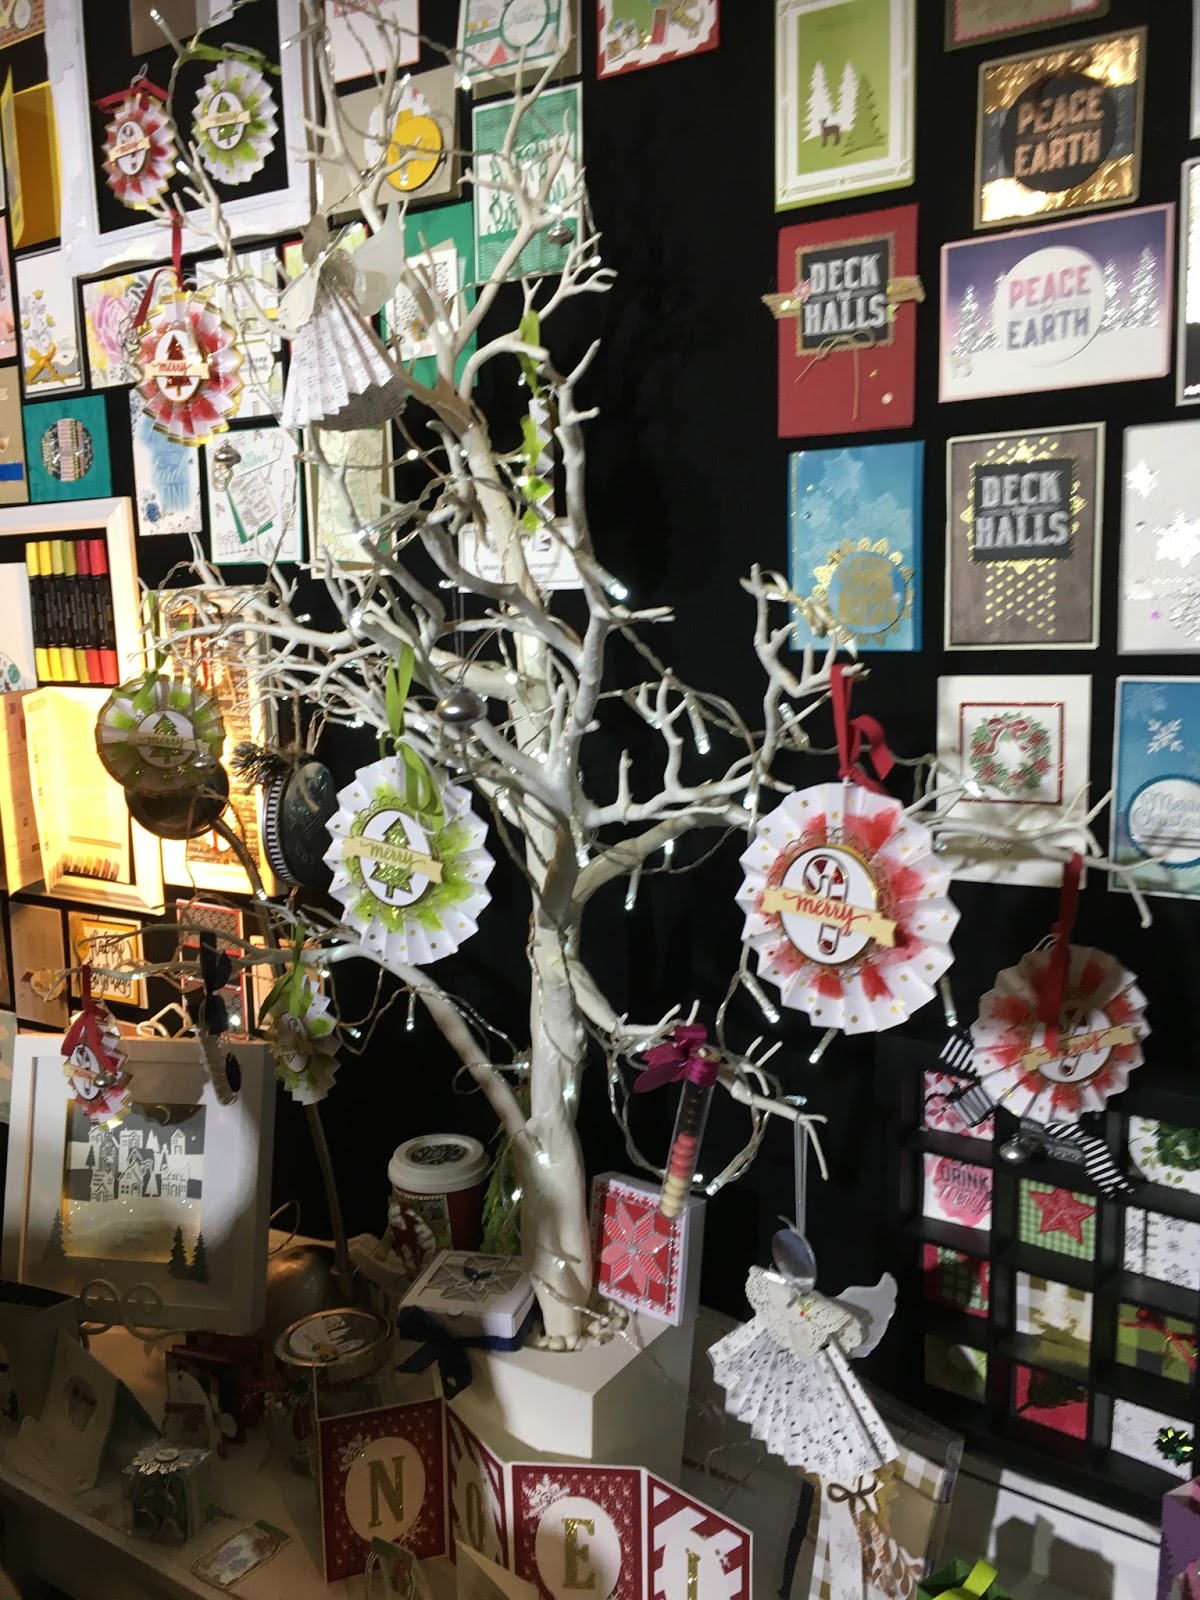
I spent a fun day at Penrith Panthers Paper Crafts Festival today. The Stampin' Up! team did an amazing job and were definitely the most outstanding display as you can see from the photos.
I caught up with my friend Cherryn and her friend Veronica for lunch and we had a great chat about all things paper! The crafting bug is something that provides a lot of joy for me, and I love sharing my crafting passion with others.
Have you ever thought about joining Stampin' Up! as a hobby demonstrator and earning 20% or more off your stamping and crafting supplies?
Stampin' Up! has become a favourite part of my life since I joined 5 years ago, and I now have over a quarter of a million views on my Youtube Channel, Aussie Stampers.
Imagine sharing your love of crafting with your friends and hosting a Stampin' Up! party.
Or perhaps you prefer to sell from your very own Stampin' Up! online store?
Perhaps you would like to teach others how to create simple projects, or simply get a discount on the best paper craft supplies available. Everything you need to get started is in the demonstrator kit, and costs just AU$169.
To join my team, visit my online store at www.AussieStampers.stampinup.net and click on "join the fun" to start your crafting journey.
It's been a while since my last post, as Paul and I have been away on our honeymoon! We had a traditional Hawaiian Ceremony in Maui and it was absolutely perfect.
We have been together for 6 years and the 2nd of September is our "day". It was the day we first met, the day we moved into our new home, the day Paul proposed, and the day we were married.
I made so many little mementos for our wedding, including all the signage for our photos.
I can't think of a better way to use the Large Numbers and Letters Framelits, can you?
I used a steel-edged ruler to make sure they were aligned perfectly on Basic Black Card stock (I used the 12" x 12" size as it was a little longer than the A4 size.) I adhered them with tombow multi adhesive and cut them out using the Copper Foil Sheets.
I love how they turned out, and I will be keeping them in my keepsake box of wedding treasures.
Hello and welcome to today's blog post and papercraft project. I wanted to try some simple colouring using Prismacolor Pencils. These pencils have a gorgeous silky feel and are my pencils of choice for really smooth blending.
I kept it simple, and made sure to ground the image with some sketchy green so it doesn't appear to be floating on the page.
I used tuxedo memento black ink for all the stamping, and made sure to include a greeting inside the card as well as the sweet butterfly image.
I love doing a single layer card once in a while, and keeping it simple.
Thanks for stopping by, and I hope you enjoyed today's project. Vicki x
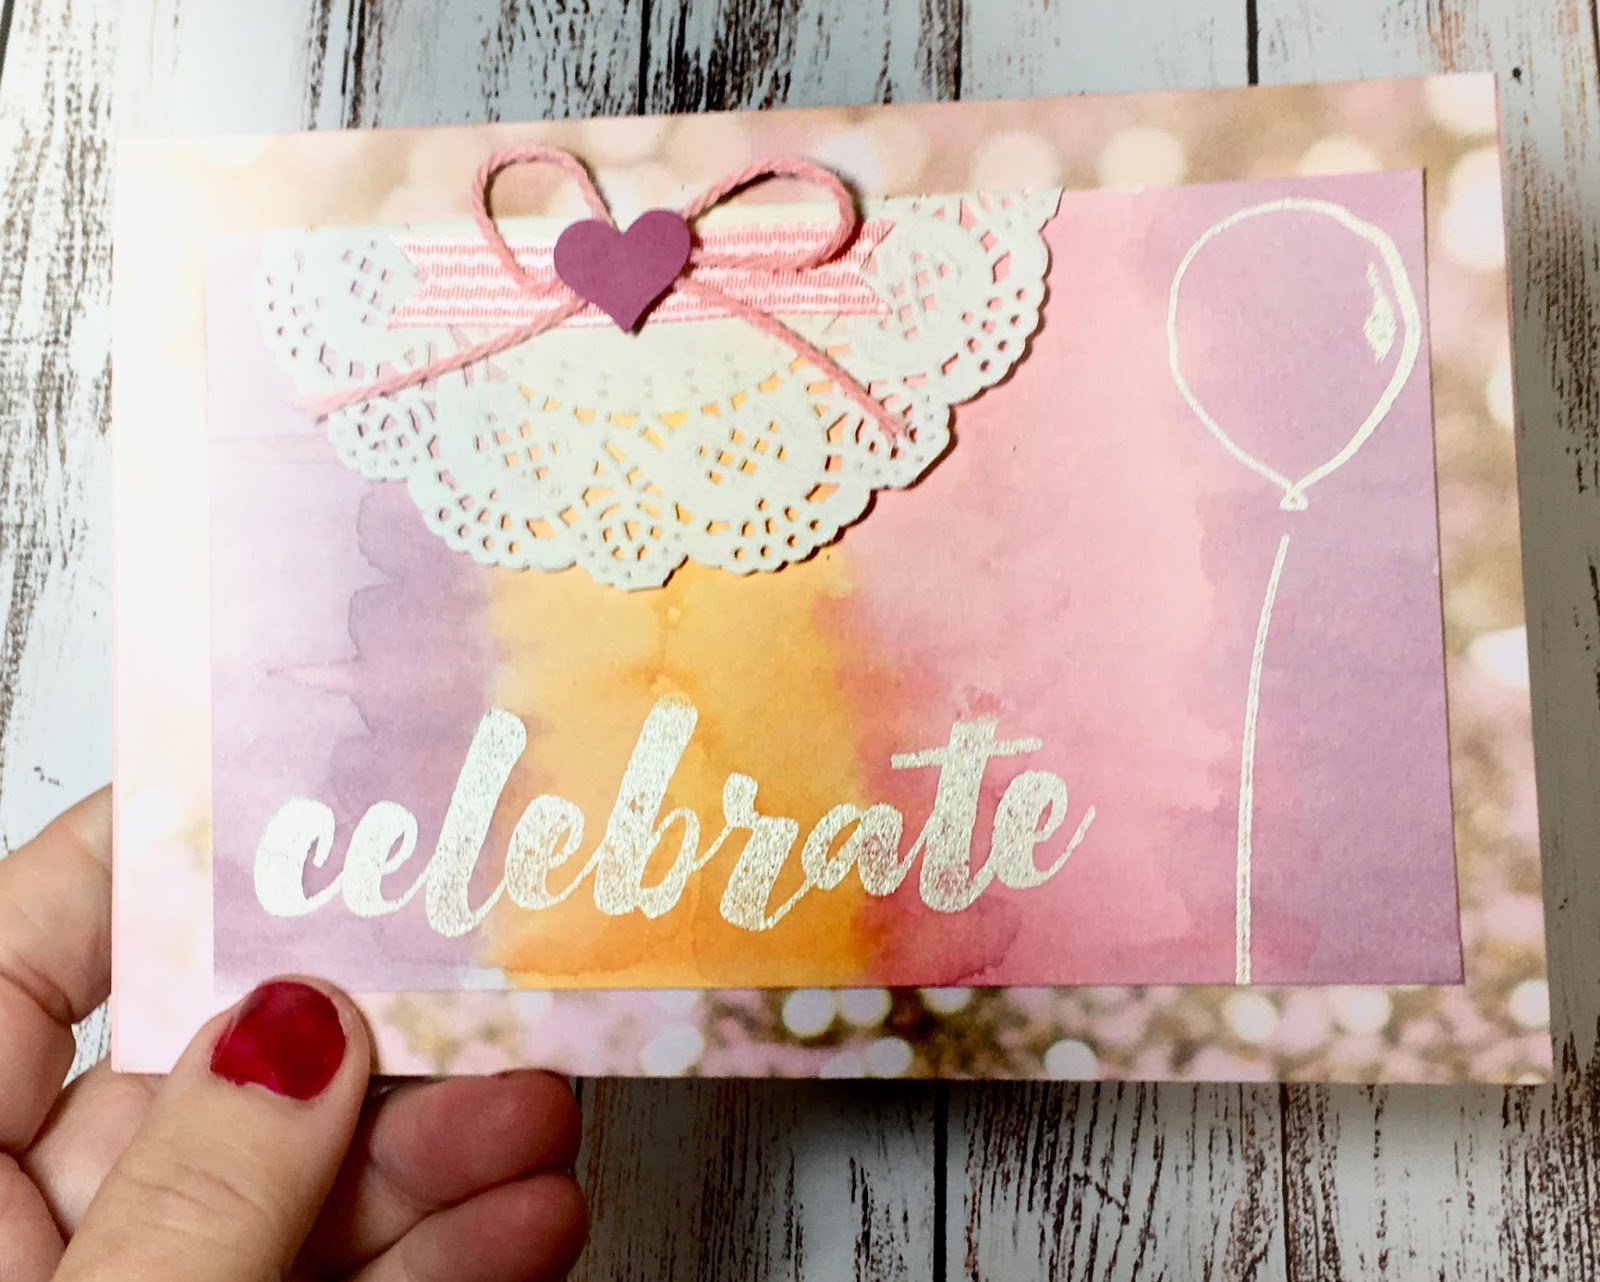
Hello, and thanks for visiting my blog today. I just love using white embossing powder on watercolour paper, then wetting the paper and doing simple blending with an aqua painter.
It's pretty much fool proof, and the results always have a painterly feel to them, as no two are the same.
By adding a paper doily, some washi tape and twine with a lil' punched out heart you can create a sweet baby card.
Inside the card I used the Moon Baby stamp set and direct marker-to-stamp technique, mirroring the colour scheme of the outside.
The balloon is from the Balloon Celebration stamp set, and I used a versa mark pen to draw in the string line.
The background paper picks up the pinks, and it is mounted on a pink pirouette card base.
I have been doing Zentangle drawings lately, and decided that a curvy hand-drawn frame would look perfect with a black and white card.
I knew which stamp set to choose and went straight to these two coordinating sets.
I started with the inside of the cards first, because I wanted to use my Copic markers to shade parts of the image before committing to the front panels.
I used cool greys, C1 and C3, and a 0.3 black Copic Multiliner to give some definition in the shadows, and to "ground" the image of the kitty.
For the outside of the cards I added C5 for a little more depth of shadow.
For the kitty frame, I simply drew some wavy lines with breaks in the lines and made sure the image was in front of the framed area.
For the Puppy Card I started with 2 wavy parallel lines, then sectioned them off with curved stripes, then coloured leaving the centres blank to look like the frame was 3D. It gives an interesting effect, and is very simple to do, once you have practised a few times on scratch paper.
I hope you enjoyed today's project. I like both frames, but I'm not sure which you prefer. Leave me a comment below, and thanks for visiting today.
There is a video tutorial for this set of cards at the end of this post.
I have three special cards for you today, and I know you're going to love this technique.
I have used the stamp set "A Little Wild " to create a set of Tulle Window Cards that are as cute on the inside as they are on the outside!
I have floated the images on a sparkly tulle window that is sandwiched between the layers.
This technique is also suitable for acetate sheets if you don't have any tulle handy, although tulle is readily available in any fabric store and is inexpensive too. I found this soft white tulle with silver sparkly glittery pieces embedded in the fabric, at Spotlight.
I cased this idea from the very talented Jennifer McGuire, and have put a link to her post in the video.
The stamp set I have used really suits this technique, since it not only has matching framelits, but also has an image of the back of each of the cute little animals that match perfectly.
See how cute the inside of each of the cards looks! Aren't they just darling? I REALLY love this technique.
I hope you give these a try. You can purchase the stamp set and framelit bundle, as well as the Stitched Framelits that were used to cut out the windows, from my online Stampin' Up! Store
A Little Wild Bundle
145327 Wood Mount $85.50
145328 Clear Mount $73.75
Stitched Shapes Framelits 145372 $50.00
Other supplies Used:
Thick Whisper white Card Stock
Soft Suede Card Stock
Smokey Slate Card Stock
Sahara Sand Card Stock
Stampin' Write Markers
Aqua Brush
Wink of Stella Pen
Tear and Tape adhesive
Tombow Multi Adhesive
Stampin' Dimensionals
Mettallic Enamel Shapes
Balloon Celebrations Stamp Set
Balloon Punch
White Embossing Powder
Versamark Ink
Fine Tip Glue
Here is the Video Tutorial.
Have a good weekend, thanks for visiting, and happy crafting!
Hello, and thanks for visiting. I trust you are enjoying your Saturday. It is rainy outside, but cosy in my craft room She Cave!
Don't you just love a quick and simple treat bag?
I am giving away this stamp set as a part of my BOGOF Sale, or maybe I should be calling it my EOFY sale?
Anyway, how it works is, for every $50 in product you spend in my online store at www.AussieStampers.stampinup.net during June, you can choose a retired stamp set from my stash of goodies for free!
This is strictly first in first dibs, so hop over to my AussieStampers Facebook page and see the sets that are still available. If you spend $50 it's one stamp set or framelit set, $100 is 2 sets, $150 is 3 sets and so on. Simply write SOLD under the photos I have posted of the available retired, gently used sets, and I will send them to you in the post as a thank you gift!
Thanks for stopping by, and have a wonderfully creative day.
Here are 2 cards I put together using different techniques. I made the first card on Stampin' Up! Shimmery white paper, which I had lightly spritzed with water and matted it to a DSP background
I stamped a separate piece of card stock with the sentiment and popped it up on dimensionals, then added 3 small rhinestones that I had coloured with Copic markers and left to dry.
For the second card I used a vellum overlay, after stamping the image as a background . I white embossed the vellum, then added a Tempting Turquoise piece of card underneath so the greeting would show through. I attached the vellum to the top of the card using Washi Tape and I mounted it all onto a thick white card stock base. I fussy cut another bloom I had stamped and lightly spritzed and adhered it to the vellum as the focal image. I love how the background peeks through!
I hope you enjoyed today's project. Have a great weekend.