

See my recommendations & links for the best ART & CRAFT SUPPLIES
Showing posts with label Hand Colouring. Show all posts
Showing posts with label Hand Colouring. Show all posts
Friday, 11 April 2014
Markers Masterclass
Markers Masterclass


Stampin' Up! Australia. Copic Coloring With Sticker Art
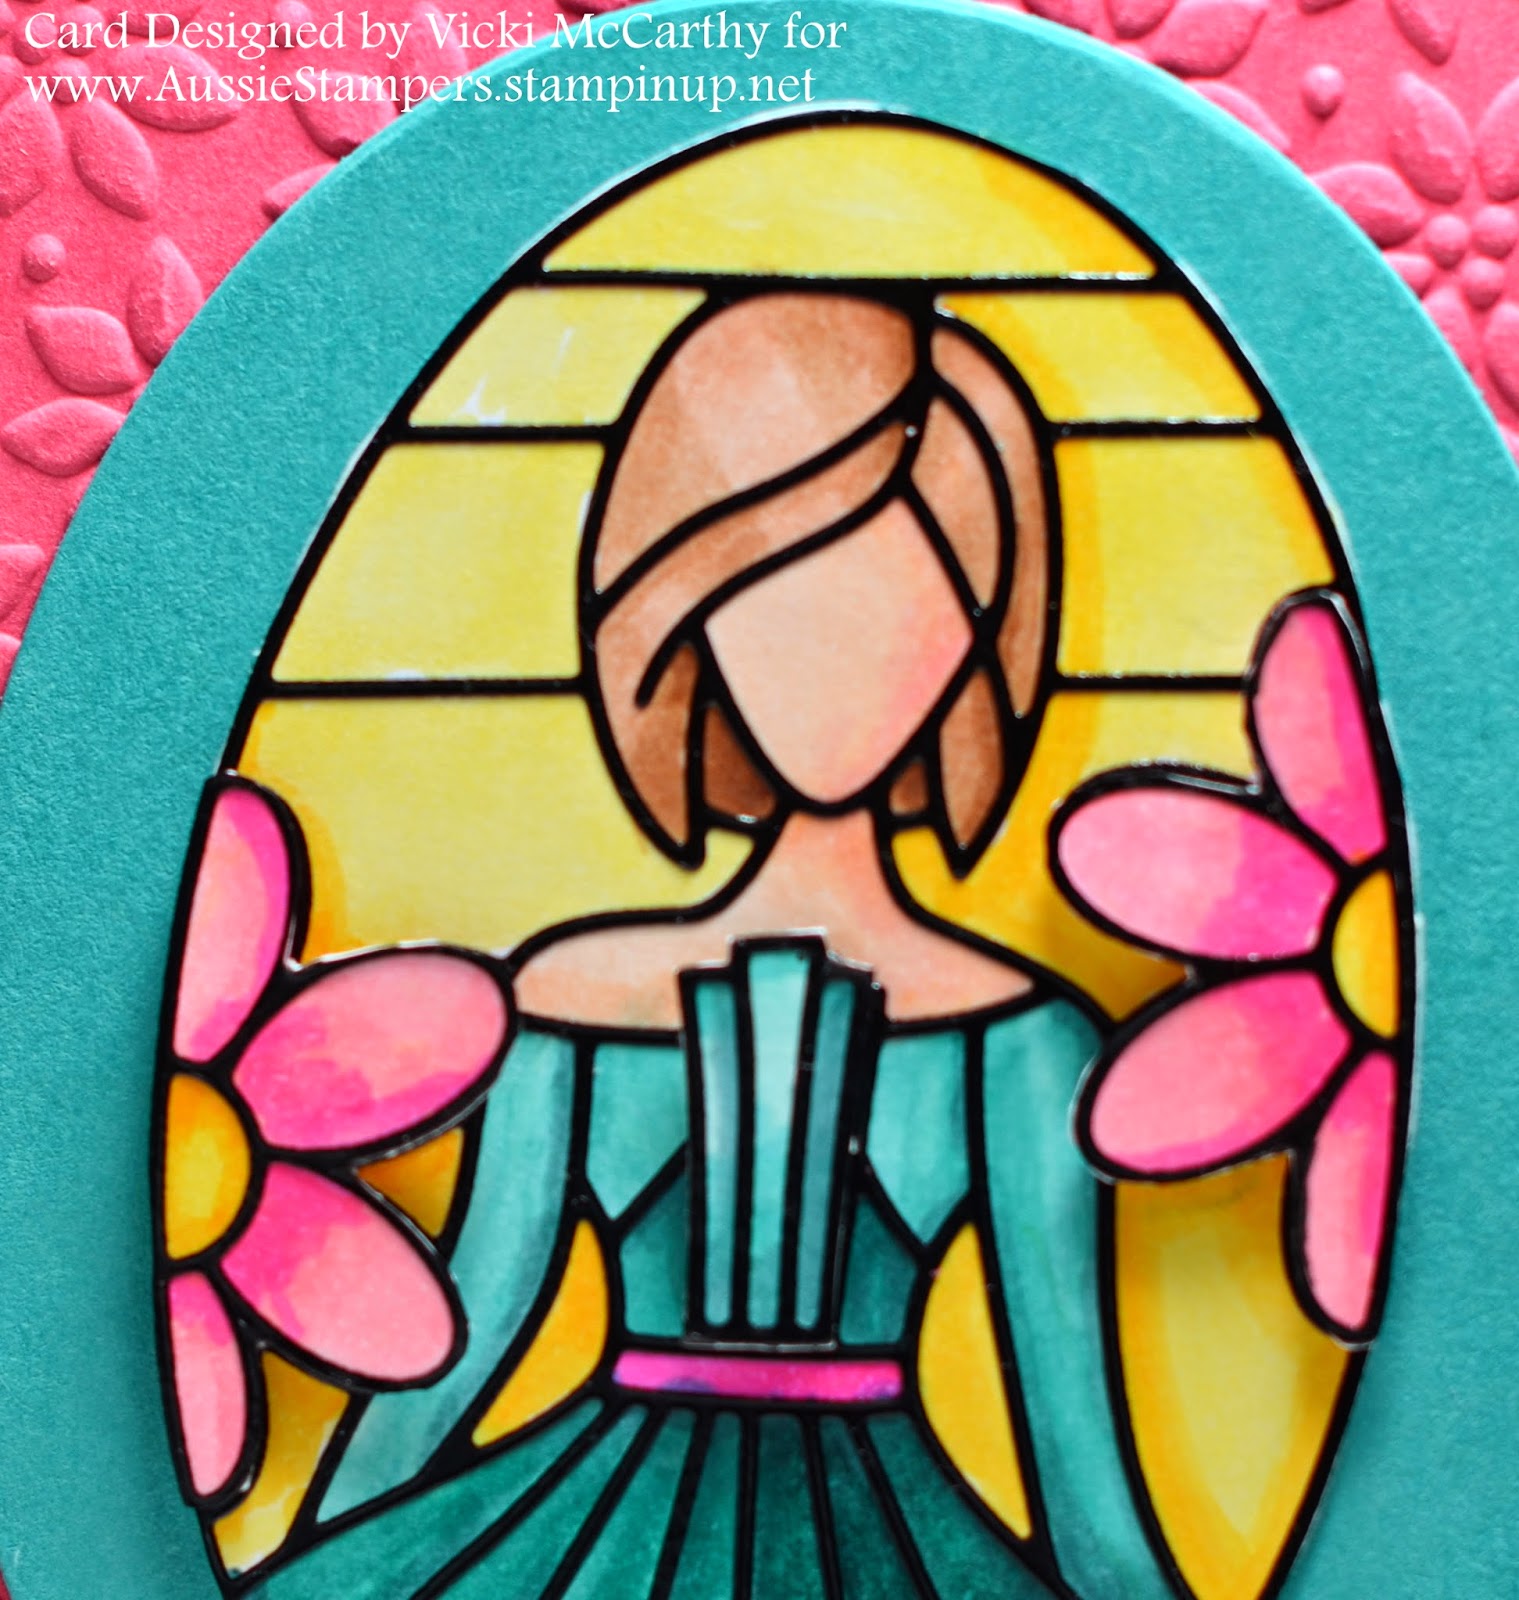

Did you know Stampin' Up! are bringing in new alcohol-based markers similar to copics called Blendabilities? I will certainly be purchasing a full set as soon as they are available. I love using copics and can't wait to try Stampin' Up!s version.
To give you an idea of how they will work, watch as I colour this piece using copic markers and show you how to blend the colors together.
The supplies used are:
Stampin' Up! Cardstock Whisper White
Bermuda Bay
Strawberry Slush
Daffodil Delight
Stampin' Dimensionals Double sided tape Ovals Framelits
Banner Greetings Strawberry Slush Inkpad
Petals-a-plenty embossing folder
The Copic Marker Colors used were
FLOWERS: RV21 RV13 RV06
DRESS: BG 11 BG15 BG18
BACKGROUND Y13 Y18 Y19
SKIN E000 E00 YR00 R20 RV21
BLUSH (cheeks) RV21 RV13
HAIR E33 E34 E35 E37
Colourless Blender
The sticker used was Elizabeth Craft Designs 2557
Blending paper was Express It
Monday, 29 October 2012
Watercolour Class YouTube - Stampin' Up! tutorial
Friday, 19 October 2012
Watercolour Classes - Stampin' Up!

I created this - Stampin' Up!Halloween Scene using sponging and masking. You can try it yourself.
It's easier than it looks!
Card Recipe:
Card stock: Whisper White for the card base - A4 cut in half and scored down the middle.
Stampin' Up! watercolour paper 10.5cm x 15cm
Aquabrush, Blender Pen
Inks: Black Stazon, Old Olive, Real Red, Midnight Muse,
Marvellous Markers: Daffodil Delight, Pumpkin Pie, Garden Green, Basic Black, Blush Blossom, Sahara Sand
White uniball signo gel pen
Stampsets: Greeting Card Kids, Lovely As A Tree (the largest pine tree image)
Adhesive: Sticky Strip (so the card front sits flat)
Punch: 1 3/4" Circle Punch
Post-it notes
Stampin' Sponges (quartered)
*Stamp the images first in black Stazon ink.
*Mask out a 1 3/4" circle with the post-it notes (punch out 2 pieces of post-it paper so the punch doesn't jam).
*Cut a piece of printer paper or post-it note to make the shape of the hill and mask it.
*Lightly sponge Real Red ink above the hill shape, then sponge Midnight Muse ink into the sky, and blend the 2 colours near the horizon.
*Remove the mask from the hill and sponge Old Olive over the entire hill.
*Colour the image of the girl and the pumpkin using an aqua brush and markers.
*Blend Black ink into the bottom of the picture.
*Allow the paper to dry (otherwise it will get muddy), then come in with the markers and highlight the shadows. (I had the light source coming in from the left). add some Daffodil Delight to the moon, and anchor the pumpkin with Sahara Sand shadowing.
*Add white gel pen to highlight the parts that are coming toward you.
*Draw 3 bats (start with a bird and add wing details).


Friday, 28 September 2012
Sydney Card Making Classes - Stampin' Up!
Our next - Stampin' Up! classes are on Tuesday October 2nd in St Peters, Sydney.
Afternoon Class 12.30-2.30pm
Evening Class 7.30-9.30pm
To see all the details and to register go to www.meetup.com/Sydney-Arts-and-Crafts-Group

The Tuesday night class is "Halloween"
The Tuesday afternoon class is "Baby cards and hand coloured Teddy Bears"


Subscribe to:
Posts (Atom)